安装autofs
官方文档地址:
https://access.redhat.com/documentation/en-us/red_hat_enterprise_linux/7/html/storage_administration_guide/nfs-autofs#doc-wrapper
基本使用:
以在Centos7.9为例:
1.安装autofs
yum install -y autofs
2.主配置文件
cat /etc/auto.master
#
# Sample auto.master file
# This is a 'master' automounter map and it has the following format:
# mount-point [map-type[,format]:]map [options]
# For details of the format look at auto.master(5).
#
/misc    /etc/auto.misc
#
# NOTE: mounts done from a hosts map will be mounted with the
#    "nosuid" and "nodev" options unless the "suid" and "dev"
#    options are explicitly given.
#
/net    -hosts
#
# Include /etc/auto.master.d/*.autofs
# The included files must conform to the format of this file.
#
+dir:/etc/auto.master.d
#
# Include central master map if it can be found using
# nsswitch sources.
#
# Note that if there are entries for /net or /misc (as
# above) in the included master map any keys that are the
# same will not be seen as the first read key seen takes
# precedence.
#
+auto.master
3.基本使用方法:
3.1.使用相对路径时的语法:
/etc/auto.master格式:
挂载点的dirname 指定配置文件路径
指定配置文件格式
挂载点的basename 挂载选项 被挂载的位置
3.2.使用绝对路径的语法
/etc/auto.master格式:
/- 指定配置文件路径
指定配置文件格式
挂载点绝对路径 挂载选项 被挂载的位置
4.测试使用(使用nfs)
nfs地址:192.168.1.237
nfs配置文件内容:
/nfs/absolutely 192.168.1.*(rw,sync,all_squash)
/nfs/relative 192.168.1.*(rw,sync,all_squash)
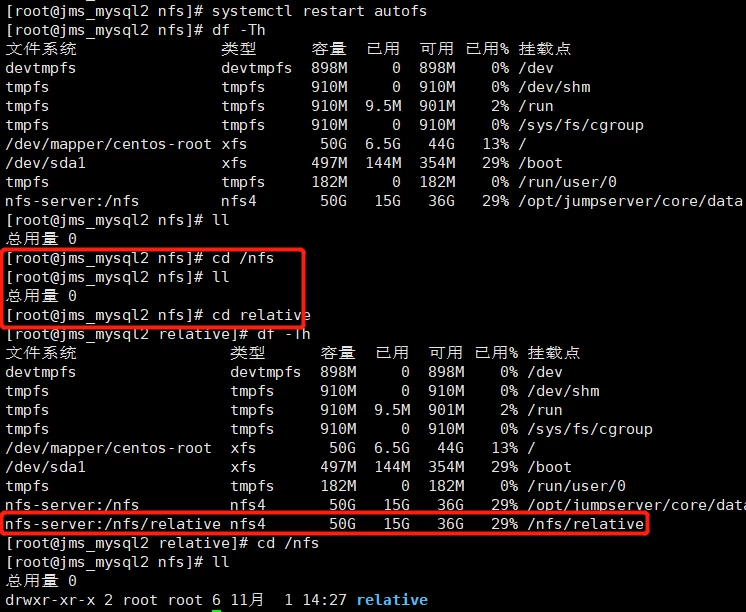
4.1.使用相对路径
vim /etc/auto.master
# 在末尾加入
/nfs /etc/relative.misc
vim /etc/relative.misc
relative -fstype=nfs,rw,sync,no_root_squash 192.168.1.237:/nfs/relative
重启autofs
systemctl restart autofs

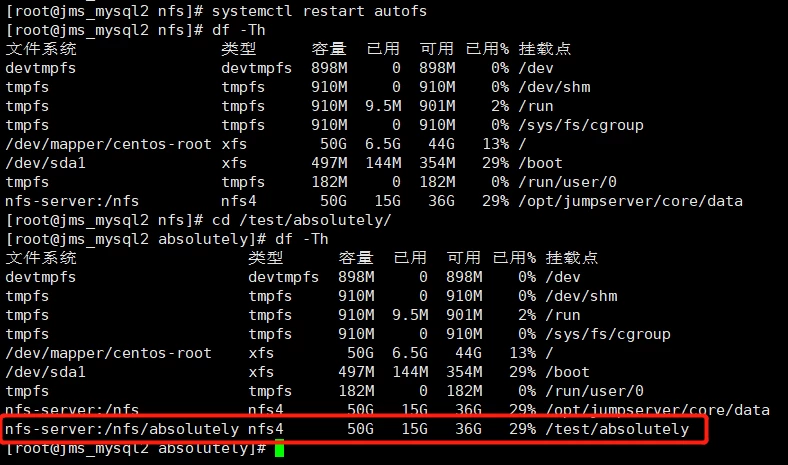
4.2.使用绝对路径
mkdir /test/absolutely -p
vim /etc/master
/- /etc/absolutely.misc
vim /etc/absolutely.misc
/test/absolutely -fstype=nfs,rw,sync,no_root_squash 192.168.1.237:/nfs/absolutely
重启autofs
systemctl restart autofs

THE END

